A Simple Sourdough Bread Starter
Wild yeast was used both for leavening bread and brewing ale, over 6000 years ago, according to archeological evidence, from Egypt. Yet we didn't begin to understand yeast and the leavening process until Louis Pasteur started investigating it, about 160 years ago.
Yeast is available commercially in compressed cake form and as active dry yeast and instant yeast, you can read all about commercial yeast on my What Is Yeast page. But wild yeast, or as it is commonly referred to, sourdough bread starter, is yeast you can cultivate in your own kitchen.
Yeast spores are a group of microscopic fungi, related to mushrooms. They are all around us all the time, on fruits and vegetables in our home, the ground, and our bodies. There are over a 100 different strains of wild yeast but the one that we are after is saccharomyces cerevisiae. It means literally, brewers sugar fungus.
Yeast breathes air and eats carbohydrates and releases carbon dioxide and alcohol. The carbon dioxide gets trapped in the gluten strands and forces the bread to rise. The alcohol tenderizes the gluten and adds flavor to the bread, then bakes off during cooking process.
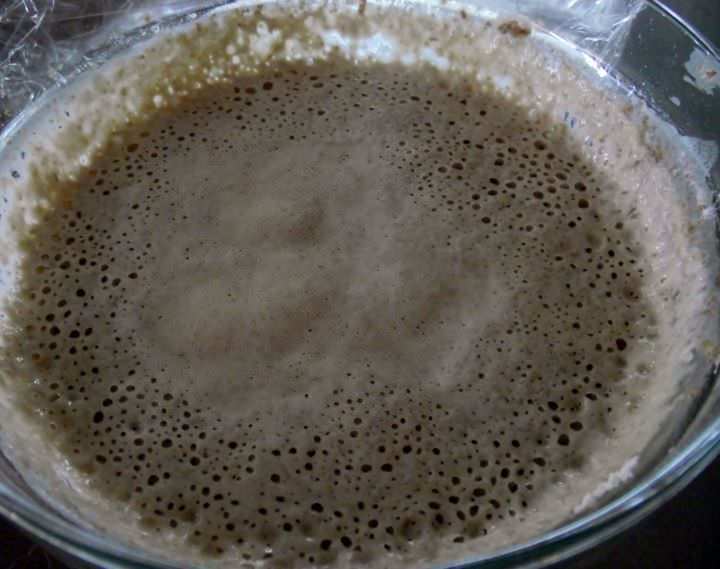 Sourdough bread starter, or wild yeast, after 4 days of feeding.
Sourdough Bread Starter
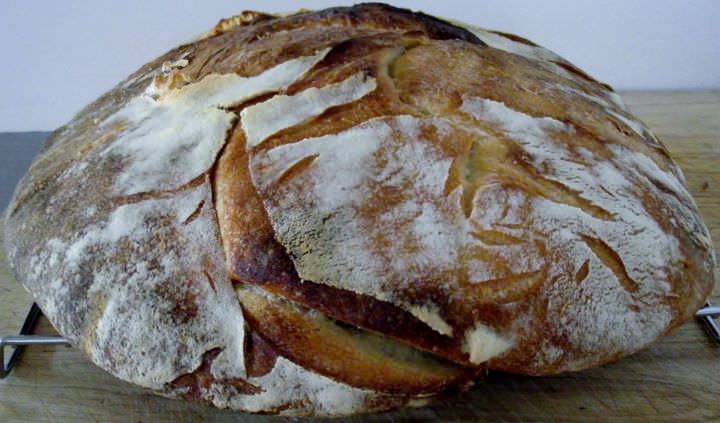 Water and whole wheat flour to make sourdough starter.
Yield: Sourdough bread starter for life
Ingredients
To Start
113g / 4 ounces whole wheat flour
113g / 4 ounces water
To Feed
113g / 4 ounces unbleached all-purpose flour
113g / 4 ounces water
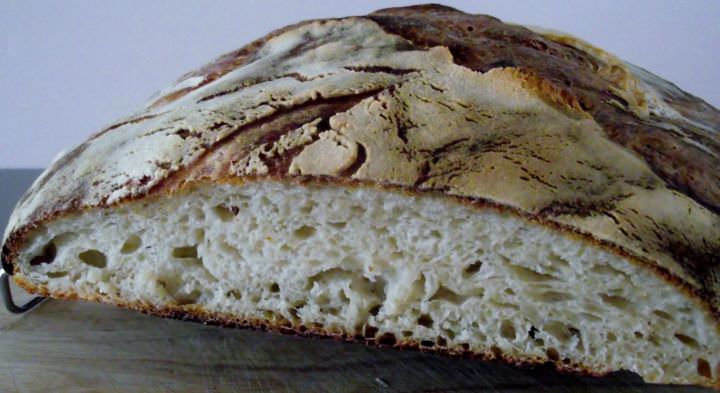 Mixing the water and flour for the sourdough starter recipe.
The first day, combine the whole wheat flour with the water in a non-reactive container. Glass, or stainless steel, work well.
Stir
together thoroughly making sure there's no lumps of flour. Cover the
container loosely with a clean, lint free, kitchen towel. Let the
mixture sit at room temperature, about 72° F / 22° C for 24 hours.
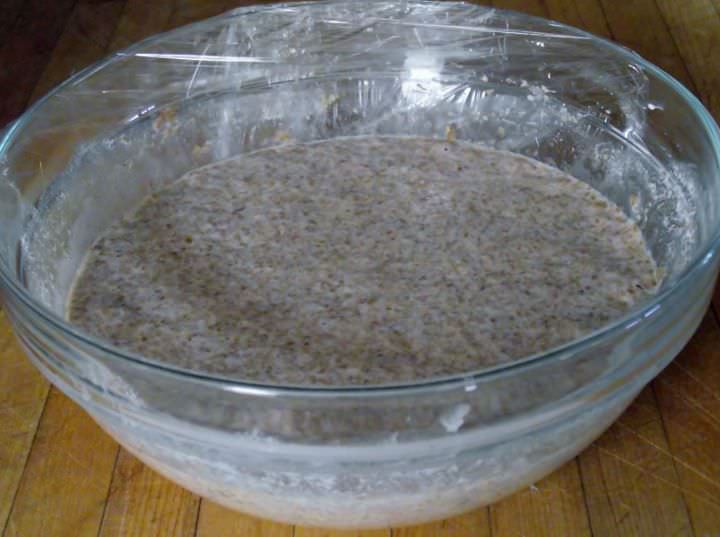
The second day, you may see some bubbles forming on the top and the starter may increase in volume or you may not see no activity at all. Either way, discard half the starter and add a cup of unbleached all-purpose flour, and 1/2 cup cool water to the remaining starter. Mix well, cover with film, and let the mixture rest at room temperature for 24 hours.
The third day, you'll see some activity — bubbling, a fresh fruity aroma, and some evidence of expansion. Now you need to do 2-feedings daily, ideally 12 hours apart.
For each feeding, stir the starter, then, weigh out 4 ounces of the starter and discard the rest. Add 113 grams / 4 ounces unbleached all-purpose flour, and 113 grams / 4 ounces water to the starter. Mix the starter, flour, and water, cover, and let the mixture rest at room temperature. Repeat the process at 12 hours.
The fourth day, stir the starter, then, weigh out 4 ounces of the starter and discard the rest. Add 113 grams / 4 ounces unbleached all-purpose flour, and 113 grams / 4 ounces water to the starter. Mix the starter, flour, and water, cover, and let the mixture rest at room temperature. Repeat the process at 12 hours.
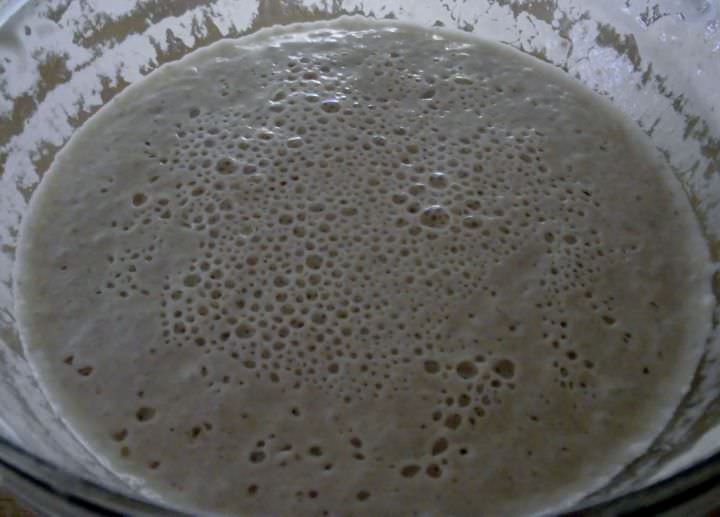 Sourdough starter after five days of feeding.
The fifth day, the starter should double in volume. You should see alot of bubbles and the starter should have a tangy aroma — pleasingly acidic, but not overpowering.
If your starter hasn't risen much and isn't showing lots of bubbles, repeat the fourth day feeding until it does.
Once the starter is ready, give it one last feeding. Discard all but 113 grams / 4 ounces of the starter. Feed as usual. Let the starter rest at room temperature for 6 to 8 hours; it should be active, with bubbles breaking the surface.
Increasing Your Sourdough Bread Starter
Now its time to bake some bread. Remove as much starter as you need for your recipe but no more than 225 grams or about 8 ounces. Transfer the remaining 113 grams / 4 ounces of starter to a clean bowl. Feed the starter, by adding 113 grams of flour and 113 grams of water. Stir well and rest in the refrigerator.
Store this starter in the refrigerator, and feed it regularly; at least twice a week.
If you need more starter than you can take away, transfer the starter to a larger bowl and do a couple of feedings without throwing out any starter. This will build up its bulk and you'll have more starter for your recipe. When I do this I feed it once without discarding any starter. For the next feeding I discard a little starter then feed. I repeat this process until I have enough bulk for my recipe.
