New York Deli Rye Bread Recipe
A New York rye bread recipe or caraway rye bread or onion rye bread; rye bread by any name is delicious, and it really gets to the heart of comfort food.
Living in New York is unlike any other living experience. There's the food, the culture, the nightlife, it really is the "City That Never Sleeps". I miss it, a lot. When people ask me what I miss most about NY, my first response is always the food. I miss being able to go to Blue Ribbon and get bone marrow and a glass of wine at 3:00 in the morning. I miss a good bagel, a crisp hot dog and delicious pizza all available 24 hours a day. I miss going to Katz's Deli and getting pastrami on New York rye bread with pastrami piled 2 inches thick.
Rye bread recipes seem to originate in the colder climates of Central/Eastern Europe and Western Asia. There is evidence that both early Greek and Roman civilizations knew of rye bread though they didn't use it much.
There is also some linguistic and archaeological evidence which suggests that rye cultivation may be much older than we think, dating back to the Neolithic period.
Onion And Caraway Rye Bread Recipe
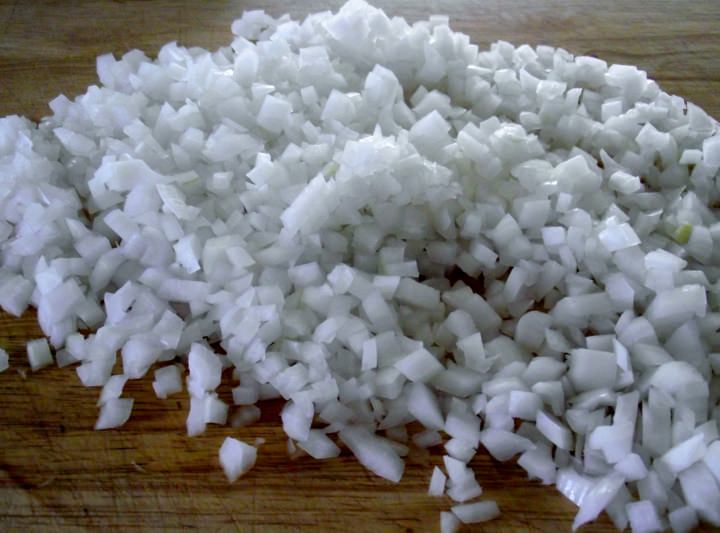
Diced onions for rye bread sponge.
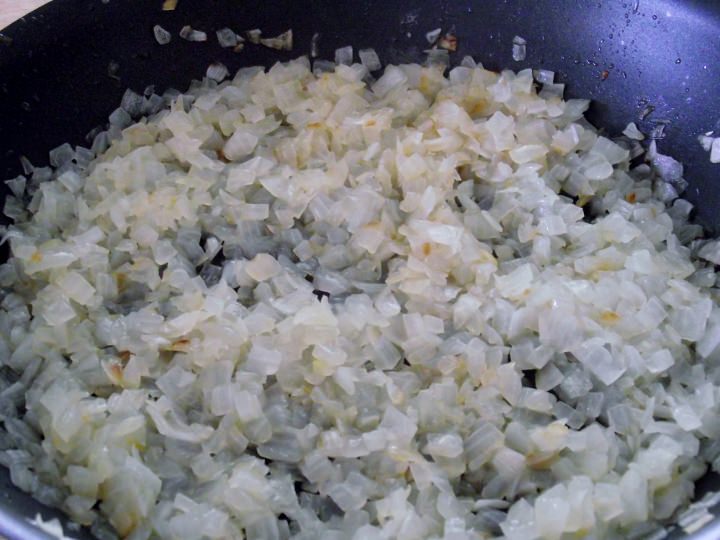
Sauteed onions for rye sponge.
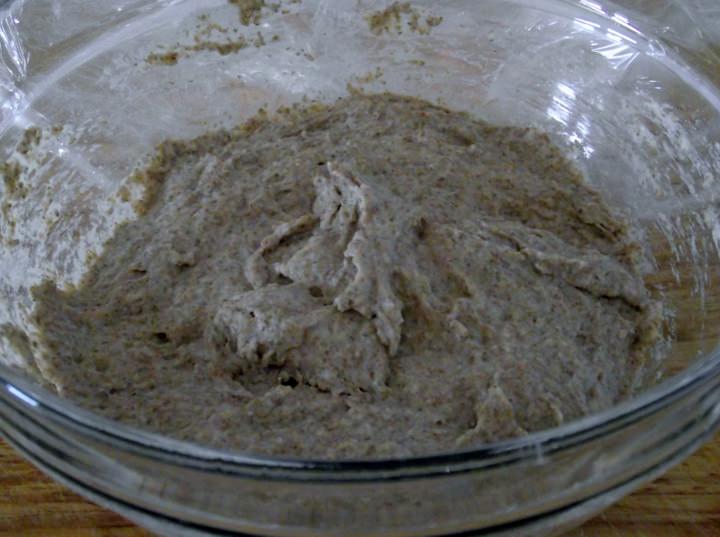
Combine the starter, rye flour, and water in a medium mixing bowl. Beat with a wooden spoon until all of the flour is incorporated. Cover with a clean kitchen towel and set aside.
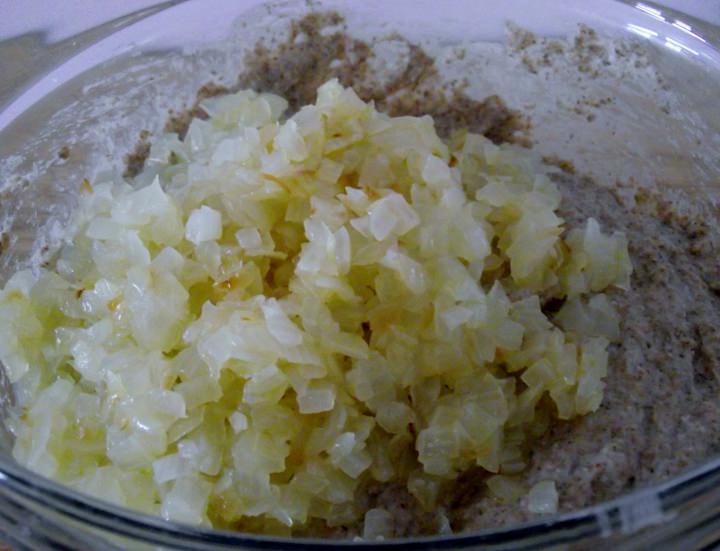
Once the
onions have cooled add them to the sponge.
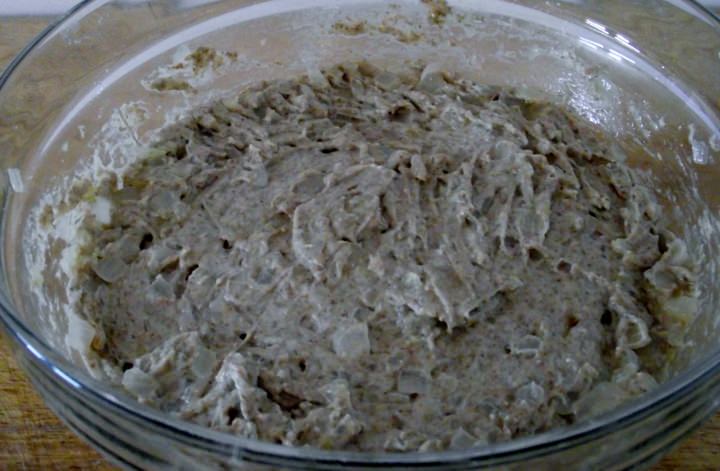
Allow to ferment at room temperature until it is frothy and bubbly, about 3 to 4 hours. Rest in refrigerator overnight.
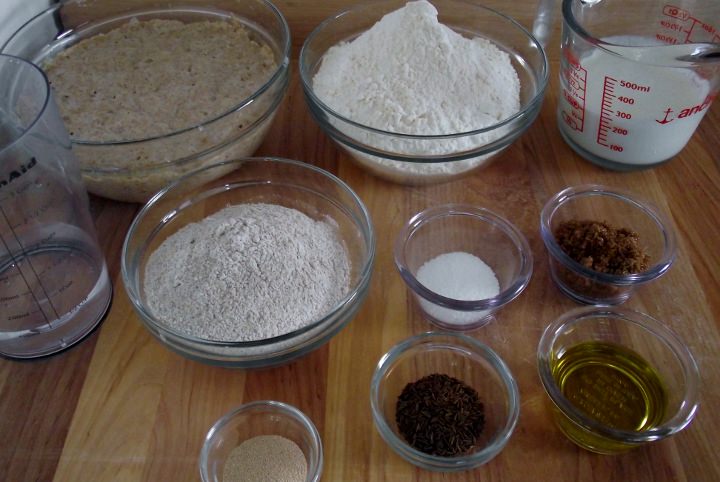
Ingredients for my rye bread recipe: sponge, bread flour, rye flour, buttermilk, water, brown sugar, salt, olive oil, caraway seeds, and yeast.
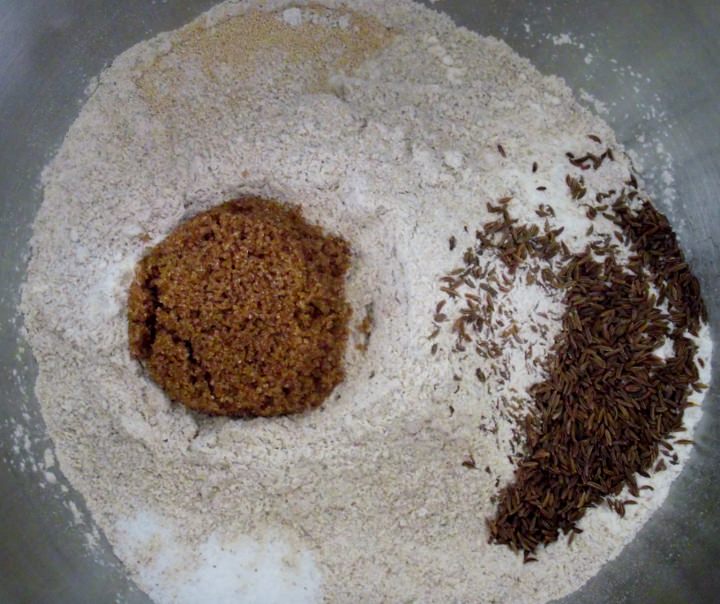
Combine the flours, salt, sugar, caraway seeds, and yeast in the bowl of a stand mixer. Whisk the ingredients to thoroughly distribute.
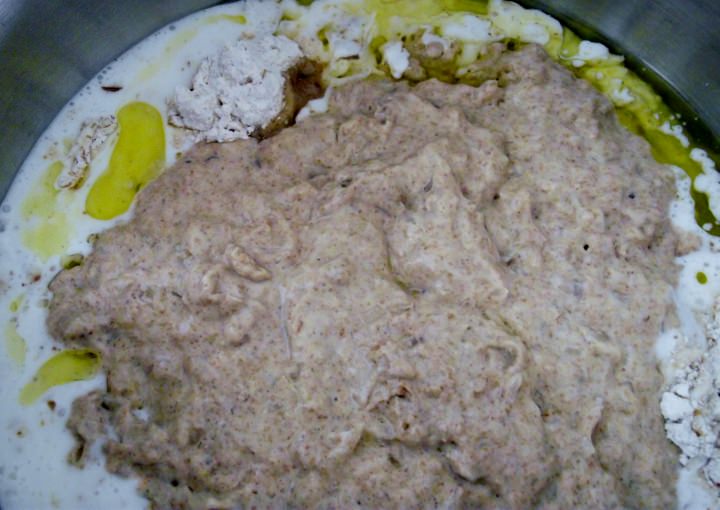
Add the sponge, olive oil, and buttermilk.
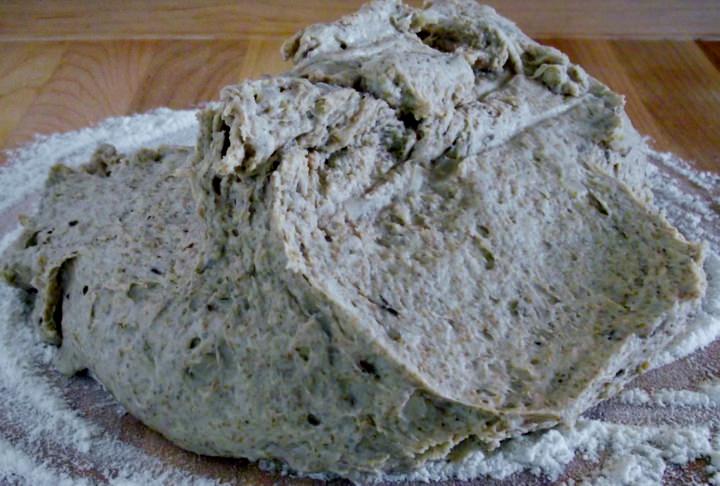
Transfer the dough to a work surface dusted with bread flour and
continue kneading by hand.
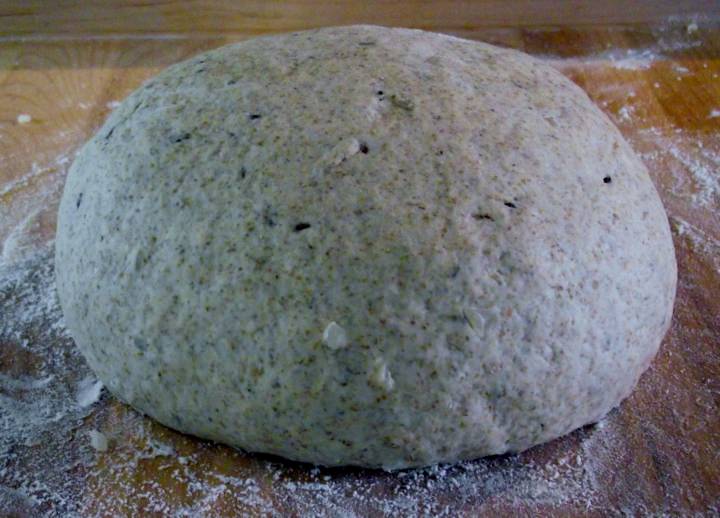
You want the dough to come together into a smooth
slightly sticky dough.
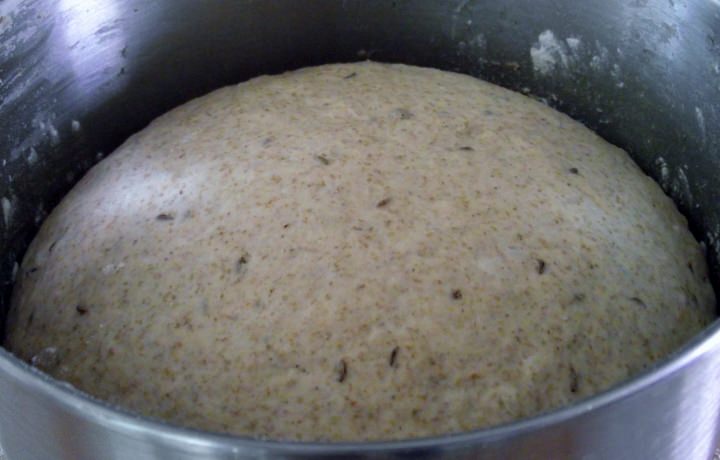
Place the dough in a lightly floured bowl and cover with film. Allow to rise until it doubles in volume.
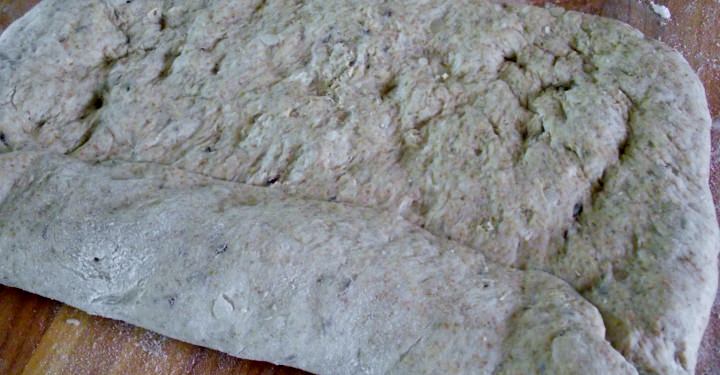
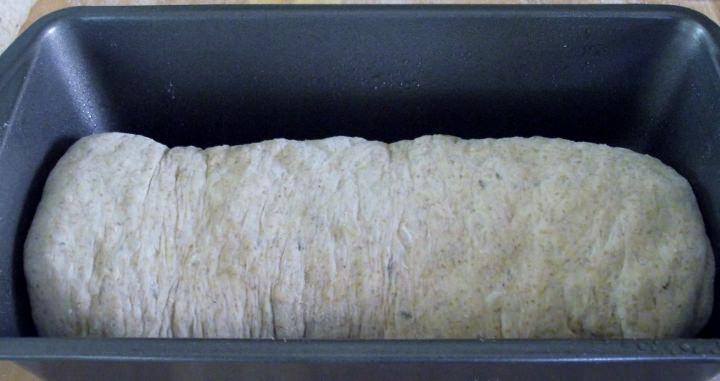
Remove the dough and divide it into 2 equal halves. Working with one half at a time, press and flatten each of the halves into a rectangle, approximately the same length as the loaf pan. The dough should be about 3/4 of an inch thick, about 2 centimeters.
Starting at one end
roll the dough over on itself, tapping the edge to form a seal.
Continue
in this fashion until you have a rolled loaf. Transfer the loaf to the pan.
How To Make Rye Bread
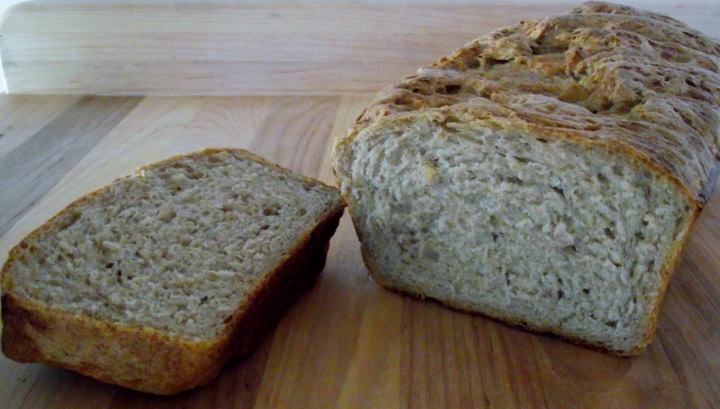
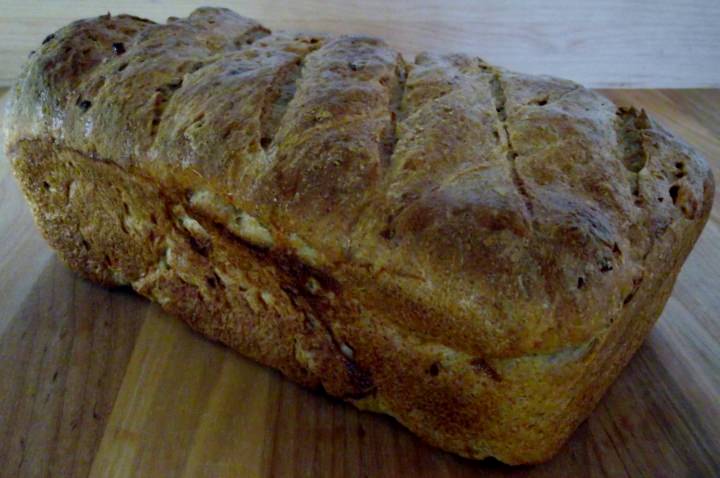
This is a delicious rye bread recipe that produces a soft texture and nice crumb with a distinct caraway flavor that has a hint of onion.
- Yield: 2 loaves
- Prep Time: 45 minutes
- Cook Time: 45 minutes
- Recipe Time: 2 days
Equipment
- Two 9x4 inch loaf pans
- Spray oil
- Sheet pan
Ingredients
For The Sponge
- 200 grams (7 ounces) sourdough starter
- 130 grams (4.5 ounces) rye flour
- 114 grams (4 ounces) water, 90° F / 32° C
- 340 grams (12 ounces) yellow onion, diced - about 1-1/2 medium onions
- 28 grams (1 ounce) extra virgin olive oil
For The Dough
- 455 grams (16 ounces) bread flour
- 130 grams (4.5 ounces) rye flour
- 16 grams (.55 ounce) kosher salt
- 28 grams (1 ounce) brown sugar
- 8 grams (.28 ounce) caraway seeds
- 6 grams (.22 ounce) instant yeast
- 28 grams (1 ounce) extra virgin olive oil
- 225 grams (8 ounces) buttermilk
- 60 to 100 grams (2 to 3.5 ounces) water, 70° F / 21° C
- 1 egg, for wash
Method
For The Sponge
- You need to make the sponge a day ahead. Combine the starter, rye flour, and water in a medium mixing bowl. Beat with a wooden spoon until all of the flour is incorporated. Cover with a clean kitchen towel and set aside.
- In a medium non-stick fry-pan add the olive oil and onions. You are not looking for caramelization here, so add them to a cold pan. Set the pan over medium-low heat and cook until the onion is translucent, about 7 to 10 minutes. Make sure to stir frequently or the onion will brown. Remove from heat and transfer the onions to a plate to cool.
- Once the onions have cooled add them to the sponge, and stir to thoroughly mix. Cover with plastic wrap and allow to ferment at room temperature until it is frothy and bubbly, about 3 to 4 hours. Rest in refrigerator overnight.
- The next day remove the sponge from the refrigerator at least an hour before starting the dough.
For The Dough
- Combine the flours, salt, sugar, caraway seeds, and yeast in the bowl of a stand mixer. Whisk the ingredients to thoroughly distribute the ingredients. Add the sponge, olive oil, and buttermilk.
- Mix on low using the paddle attachment until it comes together in a shaggy mass. Begin incorporating the water. Start by adding a small amount of the water at a time and see how the dough reacts. You want it to come together into a soft ball. Loosely cover the bowl with a clean kitchen towel and rest it for 5 to 10 minutes.
- Once the dough is hydrated mix on low with the paddle attachment for 2 to 3 minutes.
- You may not need all of the water, or you may need more than is called for in the recipe. I live in a high humidity climate at sea level. I can say with some certainty that if I made this recipe back in Albuquerque the dough would have taken more water.
- Transfer the dough to a work surface dusted with bread flour and continue kneading by hand. You should only need about another 3 minutes of kneading by hand. You want the dough to come together into a smooth slightly sticky dough. If you knead too long the dough will get gummy, not good.
- Place the dough in a lightly floured bowl and cover with film. Allow to rise until it doubles in volume, about 1 to 2 hours.
- Meanwhile, lightly coat 2 loaf pans with spray oil or a little olive oil. Set aside.
- Remove the dough and divide it into 2 equal halves. Working with one half at a time, press and flatten each of the halves into a rectangle, approximately the same length as the loaf pan. The dough should be about 3/4 of an inch thick, about 2 centimeters.
- Starting at one end roll the dough over on itself, tapping the edge to form a seal. Continue in this fashion until you have a rolled loaf. Transfer the loaf to one of the prepared pans. Repeat with the remaining dough.
- Lightly place plastic over the dough, being certain not to seal the edges along the pan, other wise the dough won't proof properly. Transfer the loaf pans to a sheet pan and allow to proof until the loaf is between 3/4 and 1 inch / 2 to 2.5 centimeters above the lip of the pan. This should take 1 to 1-1/2 hours.
- Meanwhile preheat the oven to 375° F / 190° C, making sure the rack is in the center of the oven.
- Next make the egg wash. Combine the egg and 1 tablespoon / 15 milliliters water in a small bowl. Whisk to thoroughly combine. Pass the wash through a fine mesh strainer. Set aside.
- Once the loaves have proofed, you can make a series of parallel slits across the tops and brush them with egg wash. Transfer the loaves, on the sheet pan to the oven. Immediately reduce the heat to 350° F / 175° C.
- Bake for 20 minutes, rotate the pan, and continue baking for another 20 to 40 minutes. Mine took 30 minutes to finish baking. After rotating the pan take the temperature with an instant read thermometer. Make certain you insert the probe into the center of the loaf. You want an internal temperature between 185 and 190 degrees F / 85 and 88 degrees C.
- Remove the loaves and allow to cool on a wire rack for 10 minutes. Un-pan the loaves and allow to continue cooling for at least an hour. Serve to people that deserve it.
Notes
- After this many bread recipes I think it's time to clarify some points about stand mixers. I usually start my dough in my mixer with the paddle attachment. I bring the dough together, let it rest to hydrate, and then mix it for 2 to 3 minutes. Then I transfer the dough to a floured board and knead it the rest of the way by hand.
- I do
this for several reasons. First, combining the dough is a bit of a mess
and the mixer works exceedingly well for that task. The 2
to 3 minutes of mixing allows the dough to thoroughly combine.
Lastly, the hand mixing gives you a much better idea of how the dough is
progressing and when to stop kneading. As well, I find hand kneading to be very fulfilling.
- One other consideration regarding KitchenAid stand mixers is the motor. They are not strong enough to mix a heavy dough for any more than 3 or 4 minutes at a time.
